With TSOLife, you can quickly and easily create a newsletter for your community! Newsletters keep residents, staff, and families informed about updates, events, and activities. Foster connection, celebrate achievements, and build a strong sense of community, improving overall well-being and engagement through a creative newsletter!
Accessing the Newsletter
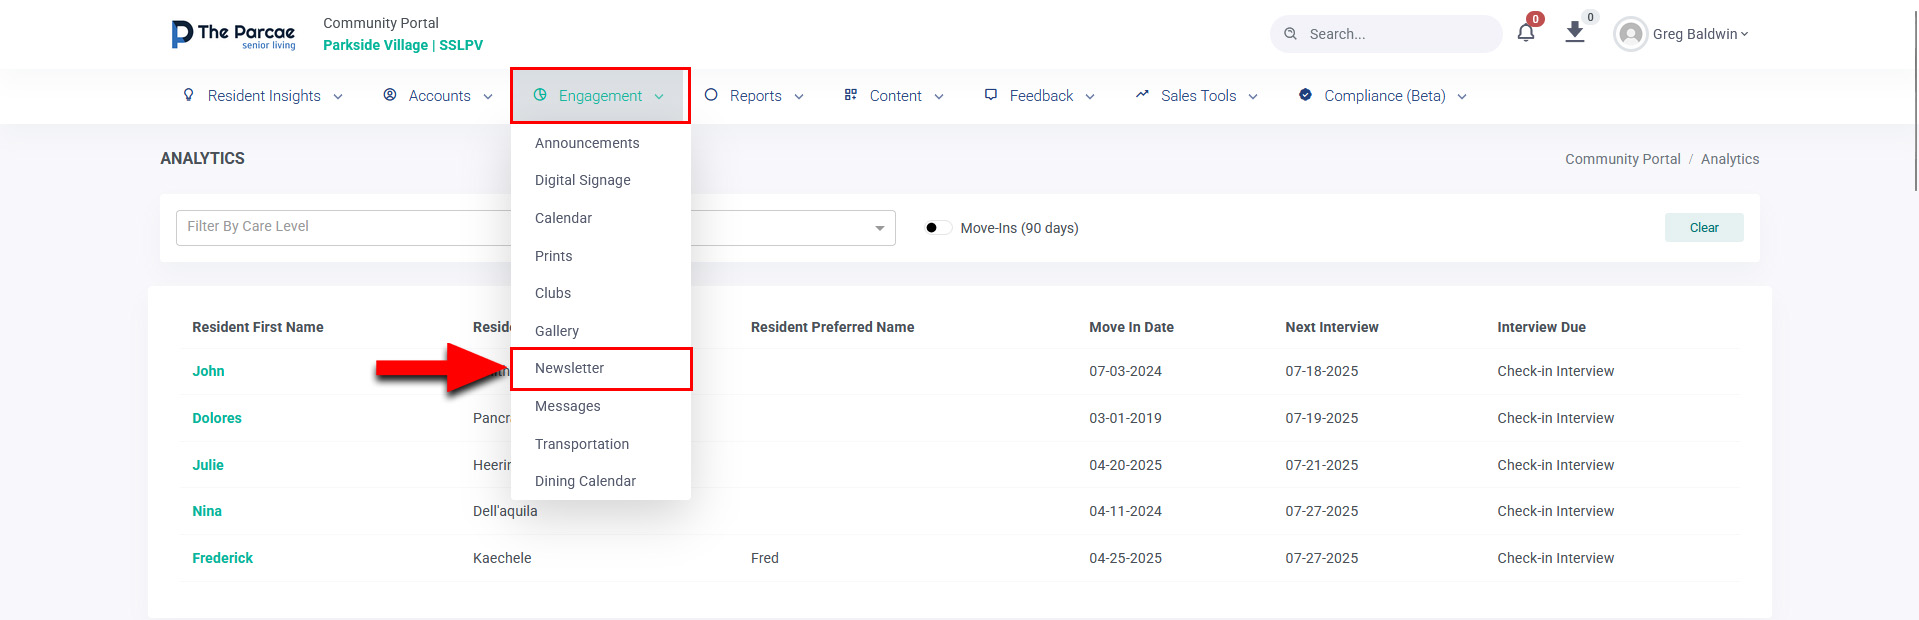
On your TSOLife dashboard, head to the Engagement drop-down and click on Newsletter:
Creating a Newsletter
On this page, you'll be able to open and delete previously created newsletters, check the draft status of each newsletter (i.e. published or draft), and, of course, create a new newsletter. To get started, click the Create button, as highlighted below:
A pop-up window called Create a Newsletter will appear.
There are a number of housekeeping steps to take care of in this window:
- Title: When naming the file, pick a title that is clear and tells which month and care level the newsletter is for. This title does not appear on the newsletter itself, but instead is just a name for the file, which helps to keep your newsletters organized so you can easily manage them in the dashboard. NOTE: Titles cannot be changed after clicking Save.
- Care Level: Select the care level that the newsletter is being created for. NOTE: If your community uses one newsletter for multiple care levels, you would select ONE care level and only create ONE newsletter.
- Theme: Select the theme you would like to use for the newsletter. Themes are the backgrounds or branded colors that you can choose from to customize your newsletter.
- Template: Select the template you would like to use from the options provided. Each template offers a unique layout of photos and text. Templates 1 and 4 offer more space for photos, while templates 2 and 3 offer more space for text. Template 5 has most of the text on one side and photos on the other.
Once your selections have been made, click Save from the bottom right corner:
The newsletter builder will open to start creating your newsletter. When building your newsletter, keep in mind that the right side of your screen will be the front of the newsletter and the left side will be the back with the newsletter folded down the middle:
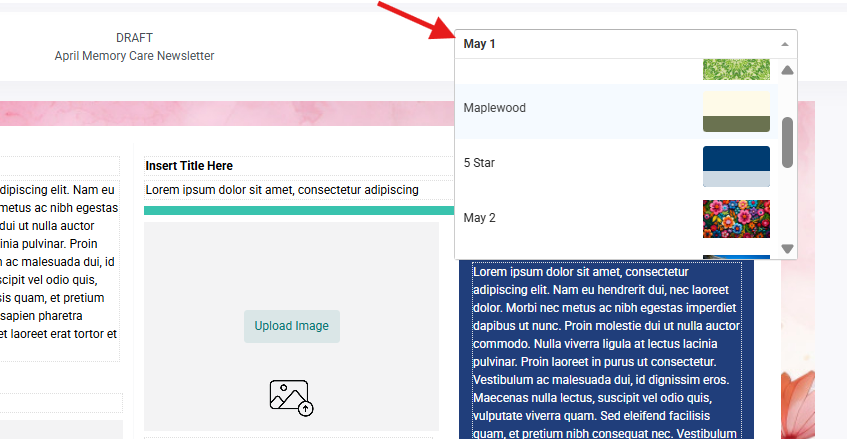
If you want to change the theme of your newsletter, select the theme you would like to use from the drop-down options near the top right corner above the newsletter:
Adding Images to a Newsletter
Insert photos in the photo boxes by clicking Upload Image in the center of each photo box. A pop-up box will appear, which gives you several options for adding photos:
-
My Photos: This tab will allow you to select photos from your TSOLife Gallery. The green Drag or Click to Upload button allows you to add photos from your computer.
NOTE: Only PNG and JPG photos are accepted.
- Stock Photos: This tab will allow you to search a stock photo library for photos.
-
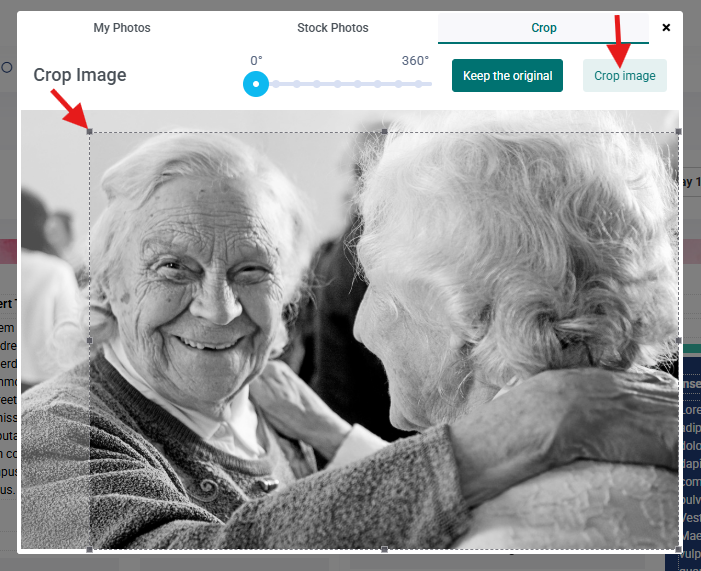
Crop: This tab allows you to adjust the size and rotation of an image.
Rotate the photo by dragging the blue circle to the degree of rotation you want.
Crop the photo by dragging the box over the area you wish to crop.
The crop window will be sized to match the dimensions of the box where the photo will be placed, so you'll only be able to crop within the shape of the template box. To get the best results, select a photo that matches the box dimensions. This will give you more flexibility and a better overall fit.
Press Crop image in the top right corner to crop the photo. If you do not wish to crop the photo, press Keep the original. The photo will then be added to your newsletter.
Adding Text to a Newsletter
To add text to your newsletter, delete the Lorem Ipsum placeholder text and either type your text in the text box or paste it from another source.
TIP: If you are copying text from another source, use the keyboard shortcut (ctrl + V) to paste it.
From here, you can highlight the text and alter the format to your liking. With the available tools, you can bold, italicize, underline, and adjust the font size. If the text runs outside of the text boxes in the newsletter builder, you will want to decrease the font size or edit the length of your content.
TIP: Each textbox has a character limit, so it's always a good idea to delete the placeholder text before typing your content.
NOTE: Be sure to fill in all of the textboxes with photos or text. If you do not enter text or photos into a box (or replace the default text), they will appear blank in your newsletter.
Publishing a Newsletter
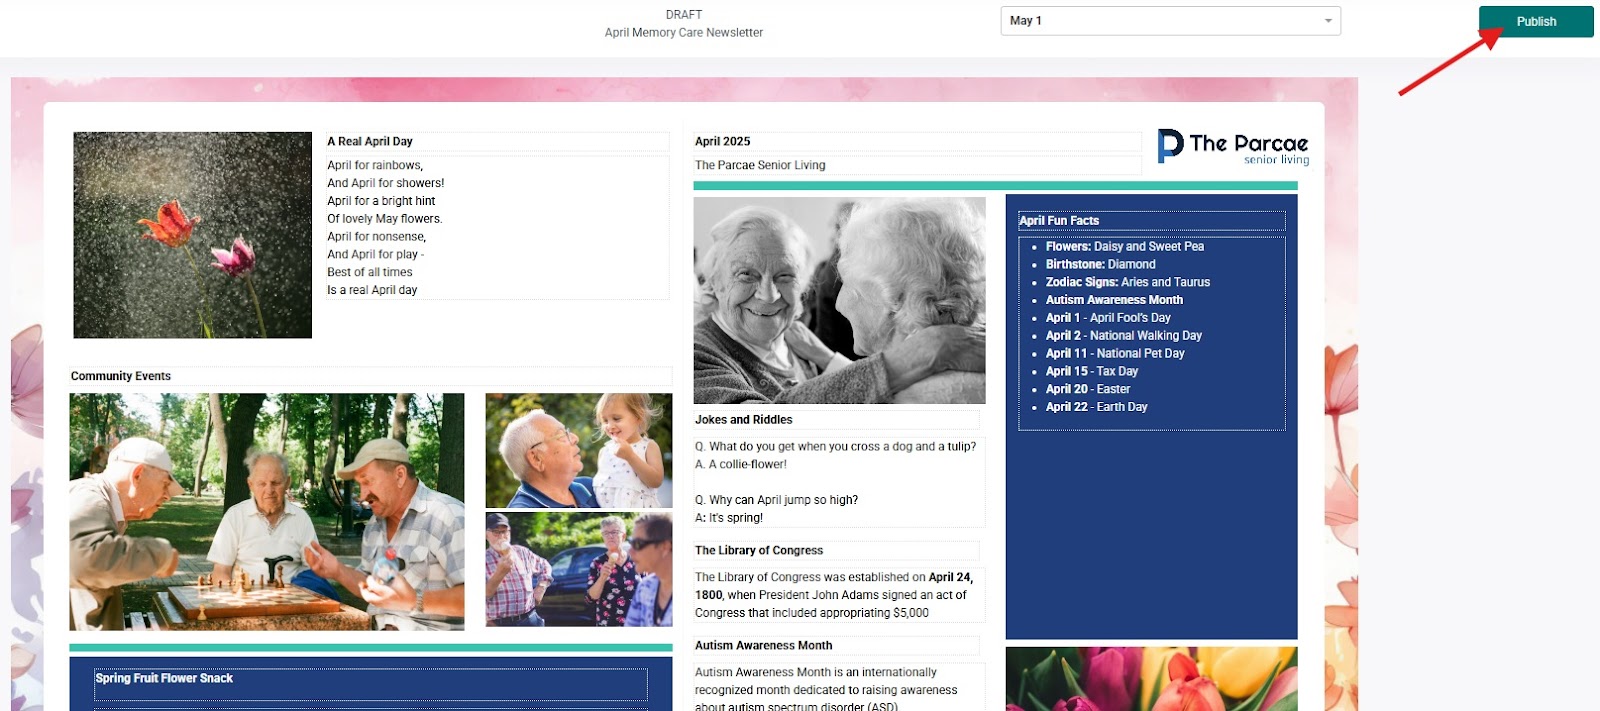
Once your newsletter is complete, press the Publish button in the top right corner. Once you press Publish, the button will change to Print, which then allows you to download the newsletter.
You can always make changes to your newsletter even after publishing it, but always remember to select the Publish button again after those changes are made so the final draft is current.
Adding Custom Content to a Newsletter
On the newsletter dashboard, click Custom Content in the top right corner.
For Templates 1 and 2 only, Custom Content allows you to add text that will automatically be added to all future newsletters you create using those templates.
NOTE: This is a great option for adding community staff, community contact information, or other information you have on your newsletter monthly, so you do not have to type it each time.
Type the text and press Save in the bottom right corner to save the custom content.
Jump to another article to learn more about newsletters and printing:
Newsletters Overview
Calendar & Newsletter Printing FAQ Guide